Check In Document Wizard
The Check In Document Wizard guides you through checking your document(s) in and deleting the checked out copy.
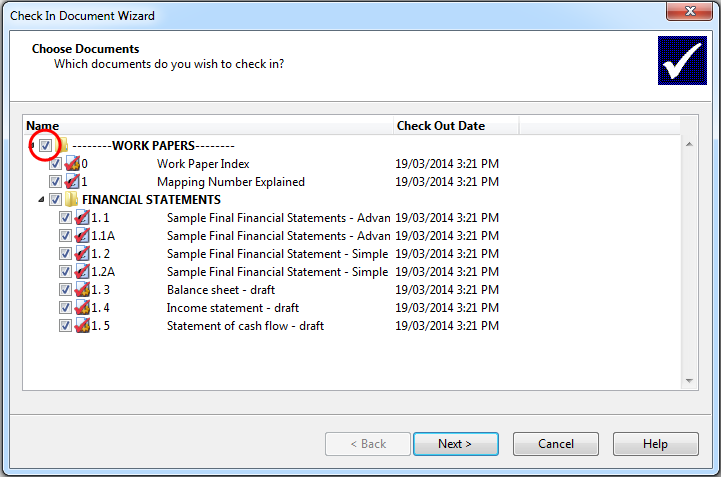
Step 1
Choose Documents
Select the check boxes to select documents or folders to be checked in.
When all documents have been selected, click Next.
The Check Out Date column lists when documents were checked out.
Step 2
Choose Adjusting Entries
Select the adjusting entries to be checked in by selecting the check boxes.
 Click on an area in the screen shot below to view its description
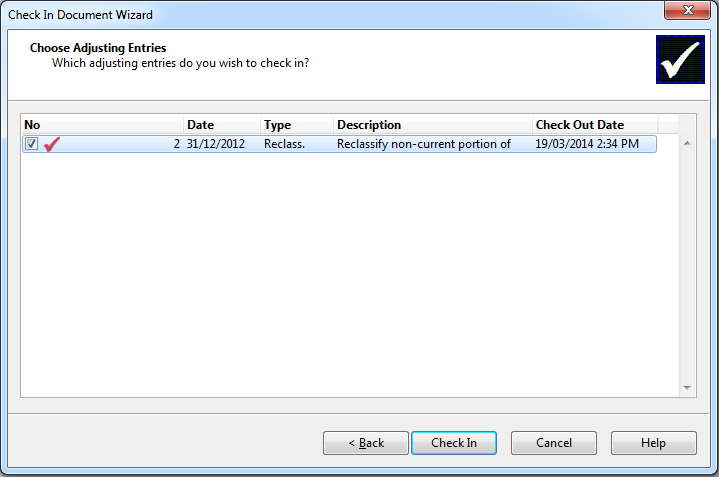
Click Check In to continue. If you have checked in all the documents you had checked out the wizard continues. If you still have documents checked out, you continue working in the checked out copy.
Displays the adjusting entry number.
Displays the date the adjusting entry was created.
Displays the adjusting entry type.
Displays the description of the adjusting entry.
Displays the date the document was checked out.
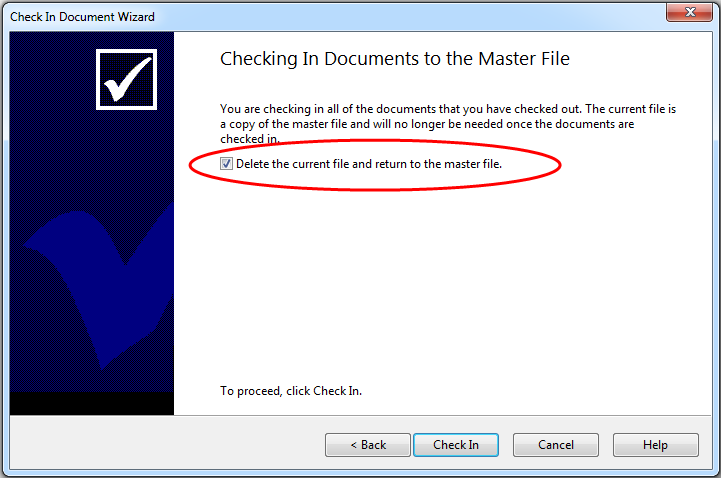
Step 3
Checking In Documents to the Master File
This page confirms you are checking in documents to the master file. You can select the check box to delete the current file and return to the master file if the checked out copy is no longer needed. Click Check In to confirm your check in.
If the check box has not been selected, the checked out copy remains open.