Clearing Issues
An issue can be cleared after it has been addressed in the client file, document, or on a line within a document.
Prerequisites
- If Protection is activated and you did not create this issue, you require the File rights, Modify issues created by other users, to perform this operation.
-
For Review on the Go users, visit the CaseWare Cloud Help Center for more information.
Procedure
This procedure can be performed from the Document Manager or the Issues pane.
To clear an issue from the Document Manager
Tip: Enable the Uncleared Issues column using the Reorder Columns command on the Document Manager to see all uncleared issues.
-
Open the Document Manager.

-
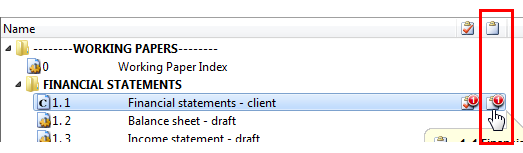
Identify documents with uncleared issues.
-
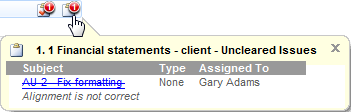
Review the issue details and, if applicable, the corresponding documentation.
-
If the issue was addressed, then click the uncleared issues icon
 to access the document properties.
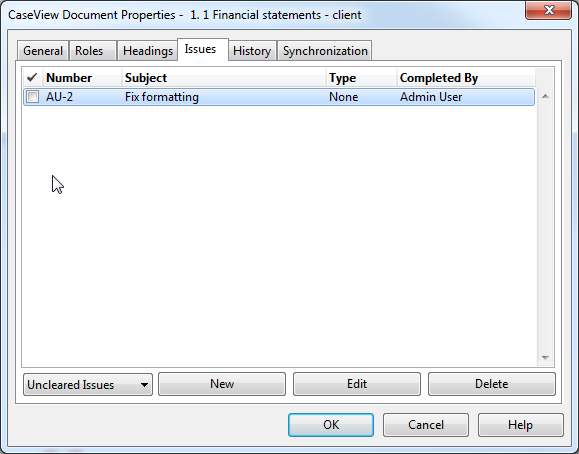
-
Clear the issue by checking the checkbox next to the issue.

- Click OK.
To clear an issue from the Issues pane
-
Open the Issues Pane.

- Click the Uncleared Issues tab.
-
Check the checkbox next to the applicable issue to clear it.

Results
The issue is cleared immediately from the list:
-
Document Manager
The uncleared issues icon is removed (
) from screen or decremented by one if the number is two or higher. -
Issues pane
The issue is removed from any views that filter on uncleared issues. For example, the Uncleared Issues view.
-
Review on the Go / SmartSync
All changes are immediately reflected on either Review on the Go or on other online synchronized copies, provided you are online and synchronizing changes.
Generally, in a review workflow, once all issues are cleared it marks the end of the review.
Notes
- The clear issue checkbox is disabled if you did not create the issue or do not have sufficient rights to clear that issue.
Clearing issues created by other users
Prerequisites
To change permissions:
The file protection must be "On"
A user group set up for those who will be allowed to change issues created by others.
Review Setting up users and positions for details.
Procedure
To set the right for the group to change others' issues.
- On the Tools menu, select Protection and then Protection Setup.
- In the User Groups window, select the group and click Properties.
- Click the Rights tab.
- Under Category, select File.
- Locate and check the box labeled Modify issues created by other users.
- Click OK to accept the changed permission.
- Repeat steps 2 through 6 to set the same right for other user groups.
- Click Close.
Results
The selected group now has rights to change to change others' issues.


