Customizing Issue Types
Add custom issue types to your client file. Expand on the default types to make file terminology consistent with firm standards.
Prerequisites
- For SmartSync firms, ensure your users are online and synchronizing changes to receive these updates.
- If Protection is activated, you require the File right, Modify issue types, to perform this operation.
Procedure
- Open the Issues pane.
-
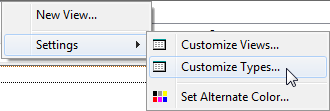
Right-click in the issues pane and click Settings | Customize Types.
-
Customize existing issue types or add new ones:
-
Add / Edit
Create a new issue type or modify a selected issue type.
-
Delete
Delete the selected issue type and all references to it.
Important Note: Ensure to de-reference a type from any existing issues and views before deleting the type. If not, issues with this type change to "None" and views will no longer correctly filter, group, or sort based on this type.
-
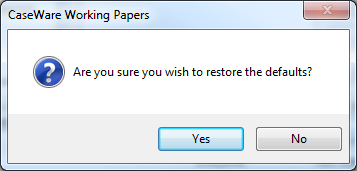
Defaults
Restore the default issue types of Client Issue (CI), Considerations for next year (CN), and Review Note (RN).
Important Note: This command also deletes all custom issue types that were added to the client file. All existing issues retain their types however.
-
- Click OK.
Results
The issue type is immediately available for use in the file. You can apply new types when you:
Notes
-
If restoring the default set of issue types, confirm that you want to delete any custom types you created in this file.
- De-referencing types from existing issues can be done quickly by creating a new view that filters on the specific issue type. From this view, you can conveniently change the type on all identified issues.


