Defining Linkable Columns for a Table
If you are linking a note or schedule to a table that does not use the typical two-column format (such as a Do-It-Yourself table), you must specify which columns in the table are to be the target of the link.
Note: You can also use custom linkages to link a multi-column table to another statement or note.
Prerequisites
For information on creating and editing Do-It-Yourself tables, see Do-It-Yourself tables.
Procedure
- Open the Firm Library document for the financial statement area that contains the table.
-
Click on a cell in the table in which the linkable columns are to be defined.
-
From the Table Tools tab, in the Linkages group, select Linkage | Linkable columns. A linkage pane appears.
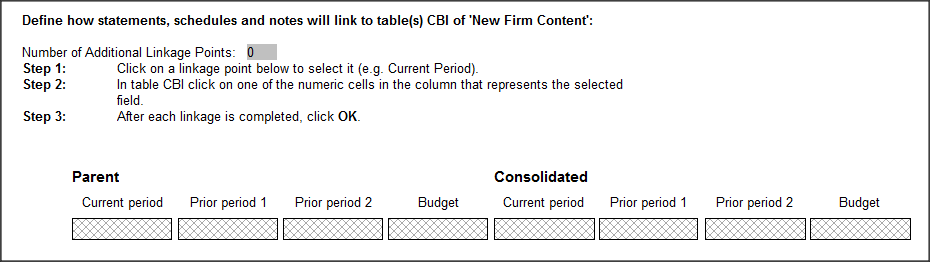
- In the linkage pane, click on one of the Parent or Consolidated linkage points. The available linkage points are Current period, Prior period 1, Prior period 2, and Budget.
- In the table, click on a cell. This links the linkage point that you selected in the previous step to the column that the cell is in. The column number of the cell now appears in the linkage point.
-
Click OK to complete the linkage.
- Repeat steps 4 through 6 to create other linkage points as needed.
Results
The linkable columns are defined in the Do-It-Yourself table. A line in the table can now be linked to a note or schedule.