Completing Firm Information
Prerequisites
Completing the firm information is normally the first step of the Financials workflow. The information provided in this section is used in reports included as part of the generated financial statements.
To complete the firm information, you must have installed Financials on your system.
Completing the Firm Information
Procedure
- In the Document Manager, open the CQ - Organization settings document.
- From the Organization Settings pane, select Firm Information.
-
Click the Complete the firm information link.
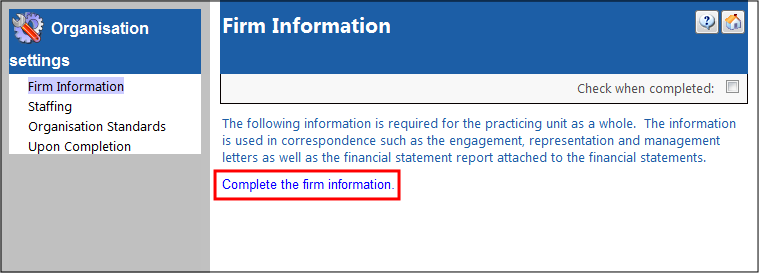
The Firm Information document appears.
-
In the Firm Information section, type the contact information in the fields provided.
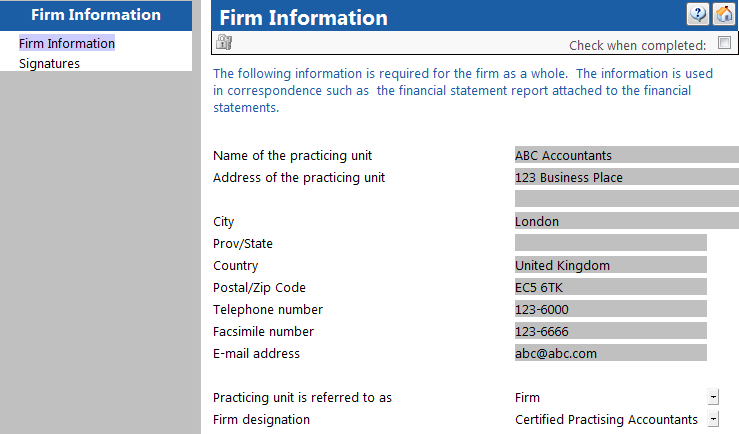
- To ensure that users cannot change any of the Firm Information fields, click the Lock
 icon.
icon. - Click the Check when completed check box.
Results
The firm information is complete, and is available for use in the financial statements.
Completing Signatures
You can specify the reports in which the firm name and designation are to appear below the signature. Depending on your Financials product, you may also be able to specify that partner signatures are to appear in certain reports.
Procedure
- In the Document Manager, open the CQ - Organization settings document.
- From the Organization Settings pane, select Firm Information.
- Click the Complete the firm information link.
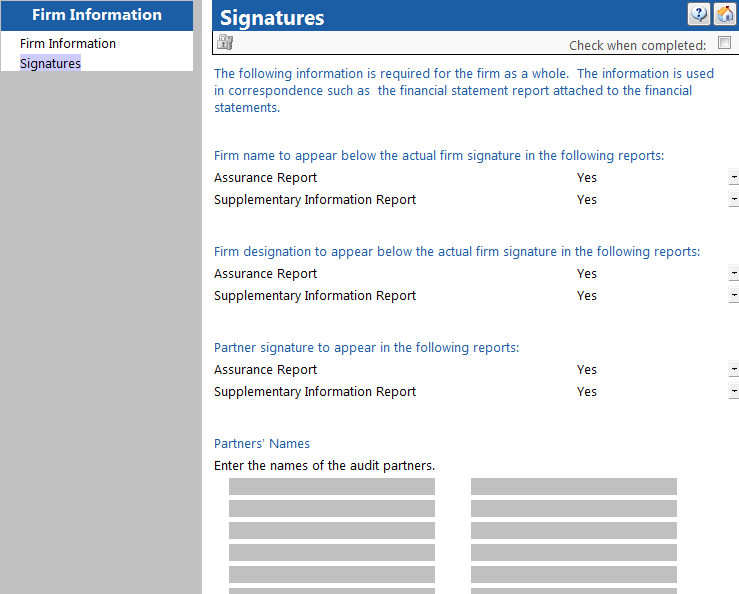
- From the Firm Information pane, select Signatures.
- In the Firm name to appear below the actual firm signature in the following reports section, for each report on which you want the firm name to appear, select Yes from the drop-down next to the report name.
- In the Firm designation to appear below the actual firm signature in the following reports section, for each report on which you want the firm designation to appear, select Yes from the drop-down next to the report name.
- If the Partner signature to appear in the following reports section is provided, for each report in which you want a partner signature to appear, select Yes from the drop-down next to the report name. If you have selected Yes in any of these drop-downs, type the names of the audit partners in the fields that appear.
- To ensure that users cannot change any of the Signatures fields, click the Lock icon.
- Click the Check when completed check box.
Results
The signatures are available for use in the specified reports.