Creating a New Client File from Existing Client Data
A new file can be created from a client data source. Company details, accounts, journal entries, and other accounting data are imported from the specified data source and included in the new file.
Note: A client file should never be added as a template and used to create new client files.
-
In Caseware Working Papers, select File | New.
-
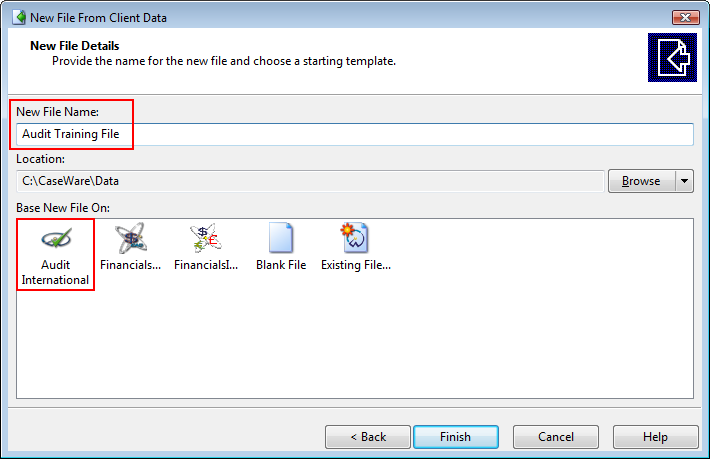
Enter a name for the new file.
-
In the Based on list, select the Audit template, then click Create file and import data.
-
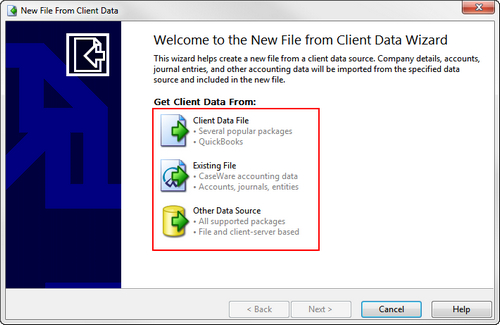
The New File From Client Data wizard displays. Choose from one of three methods to bring in the trial balance and other client data:
-
Client data file – based on an existing QuickBooks™ accounting file
You can create a new client file using data from a QuickBooks file. The QuickBooks™ and other packages information are imported into a copy of Audit and the accounts will automatically be mapped. The software performs the auto mapping based on:
-
Ratio code
-
Tax code
-
Description of the account
Locate the client-supplied accounting data file.
-
-
Existing file – based on an existing Caseware Working Papers file
-
Click Next. The Locate Existing File screen opens.
-
Choose the file whose trial balance data you wish to include in the new file. Click Next.
-
A New File Name is automatically assigned, since the same file name cannot be used in this operation. You can delete this and type a new file name if desired.
-
Click the Browse button if a different Location for the file is desired.
-
Click the Audit template icon.
-
Click Finish.
-
-
Other Data Source – based on other accounting packages
If Other Data Source is selected, an accounting package file can be imported into a copy of Audit.
-
Click Next.
-
Select the appropriate accounting package and version your data will come from.
-
Click the Browse button to locate the import path of the file.
-
Complete all the required data needed, depending on the accounting package selected.
-
Click Next. A New File Name is NOT automatically assigned. Type the new file name.
-
Click the Browse button if a different location for the file is desired.
-
Click the Audit template icon.
-
Click Finish.
-
- Click Next. Select the file whose trial balance data you wish to include in the new file.
- Type a name for your client file and select the appropriate template (Audit or Review and Compilation) file as the base file. All components of the selected template are copied automatically to your new client file.
-
After the copying is completed, an Engagement Profile Selector dialog prompts you to choose a profile:
-
For files based on the Audit template, select a default set of audit forms and template features for your engagement.
-
For files based on the Review and Compilation template, select whether the engagement is a Review, or a Compilation.
Select the profile that best suits the engagement. All components of the selected template are copied automatically into the new client file.
Once the profile is selected for audit client files, an Optimiser Checklist will automatically open, prompting the engagement team to answer a series of questions related to the engagement. Answering each question will mark the associated documents for deletion in the Optimiser Confirmation Report (AOCR). All work-programs and leadsheets will appear in Part III of the AOCR. Do not proceed with deleting these documents until materiality is completed.
-
- Once all relevant documents have been included in the engagement file, the Engagement Properties dialog is displayed. Select the beginning and ending dates for your client's fiscal year and click OK.