Configuring Statements
When you open the Management Reporting document the first time, the statement setup will automatically appear so that you can insert the applicable content into your Management Report.
- Configuring the Income Statement
- Configuring the Balance Sheet and Statement of Cash Flow
- Adding a Graphs section
- Adding Header and Footer
Configuring the Income Statement
Procedure
- Click
 (Titles and terms). The Titles and Terms dialog appears.
- From the Income referred to as drop-down, select or type the term to be used to refer to income.
- From the Loss referred to as drop-down, select or type the term to be used to refer to loss. Click OK to close the dialog.
- In the Layout drop-down, select an available layout type.
- In the Content group, select an applicable entity.
-
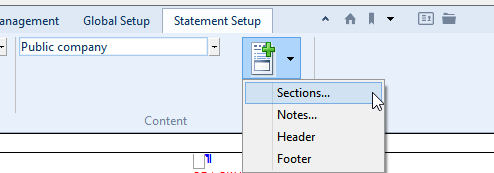
Click Insert and select Sections. In the Select from the following dialog, select an available section option. Click OK to add.
Results
Specified income statement content has been added to the monthly management report.
Configuring the Balance Sheet and Statement of Cash Flow
Procedure
-
In the Configuration drop-down, select the Balance Sheet or Statement of Cash Flow.
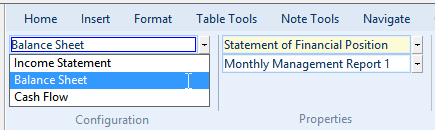
- In the Properties drop-down, select or type your desired statement name.
- In the Layout drop-down, select an available layout type.
- In the Content group, select an applicable entity.
-
Click Insert and select Sections. In the Select from the following dialog, select an available section option. Click OK to add.
Results
Specified balance sheet and cash flow content has been added to the monthly management report.
Adding a graphs section
Procedure
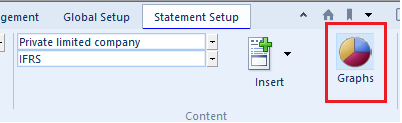
-
In the Content group, click the Graphs button to create a section for graphs.
Result
A section is created with the following text "Use the CaseView menus to add graphs to the report"

For more information on how to create a specific graph, see the CaseView help.
Adding Header and Footer
Procedure
- In the Configuration drop-down, select an applicable statement type.
- Click Insert and select Header or Footer. In the Select from the following dialog, select an available Header and Footer option.
- Click OK to add.
- Edit the applicable header text.
- Double-click the page number to open the Page Number dialog. For more information, see Add page numbers.
Results
Specified header and footer has been added to the monthly management report.