Patching Template Files
The Template Patch Packager Wizard allows you to make changes to templates that have already been packaged and distributed. The wizard detects which files have been added, removed, or changed since the installation and updates the template package accordingly.
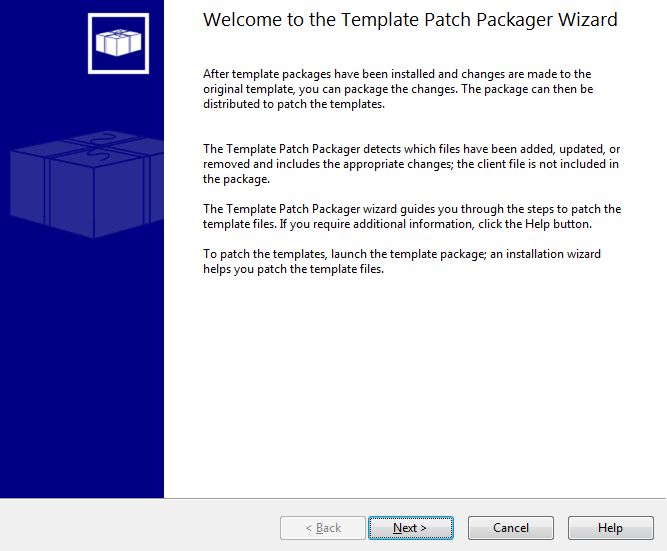
Welcome
Welcome to the Template Patch Packager Wizard
From the welcome page you are introduced to creating a template patch package.
Global Options
Global Options
The Global Options page enables you to specify how the Template Patch Installer wizard will look and behave.
 Click on an area in the screen shot below to view its description
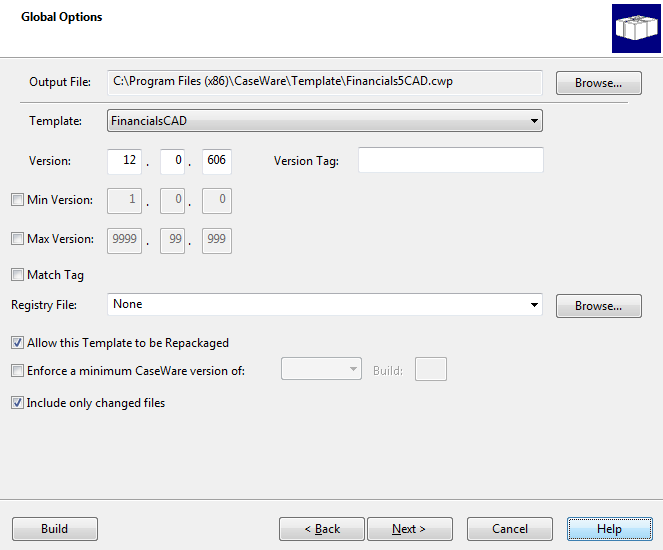
Displays the file path where the packaged template will be located. Click Browse to choose a different location and specify a File name.
Click to select the template you want to patch.
Specifies a version number for the package. Enter version numbers in the boxes to keep track of different versions.
The version number is added to the registry during the installation of the template. The version information is used to determine which version to overwrite when you are patching a template.
Specifies a minimum version number for the package.
Specifies a maximum version number for the package.
Short desc
Use the drop-down menu or click Browse to select a registry file.
Select to allow the template to be repackaged.
Note: Preventing templates from being repackaged on a machine where the template is already installed is a known security measure.
Select to limit the template to be used with a minimum version of CaseWare Working Papers.
If this check box is selected, use the drop-down list to select a version and enter a build number in the Build field to specify the minimum version of Working Papers and build number for this template to be used in.
Short desc
Click to build the template package without continuing through the wizard.
Branding Options
Branding Options
The Branding Options page enables you to customize how the Template Installer wizard will look.
Click on an area in the screen shot below to view its description

Include an End User License Agreement (EULA) that the user must accept before the installation can proceed.
You can enter the file name, use the drop-down list, or click Browse to select an *.rtf or *.txt file.
Include text to be displayed on the first page of the installation wizard.
You can enter the file name, use the drop-down list, or click Browse to select an *.rtf or *.txt file.
Include a custom image to show on the left side of the first page of the installation wizard.
You can enter the file name, use the drop-down, or click Browse to select a *.bmp file. For optimum resolution, the size of the watermark graphic must be 165x450 pixels.
A preview of the watermark is shown in the watermark box. The default image is the Template Packager image shown below.
Include a custom image in the header of the installation wizard.
You can enter the file path, use the drop-down list, or click Browse to select an *.rtf or *.txt file.
Include a custom icon to represent a template in the Templates dialog <link>.
You can enter a file path, use the drop-down list, or click Browse to select a *.bmp or *.ico file. A preview is shown in the Icon box. The default image is the CaseWare icon shown below.
![]()
A preview of the watermark to be included is shown. Click the image to choose a new one.
A preview of the header to be included is shown. Click the image to choose a new one.
A preview of the icon to be included is shown. Click the image to choose a new one.
Click to build the template package without continuing through the wizard.
Layout
Layout
The Layout page enables you to decide which layouts to include.
Click on an area in the screen shot below to view its description
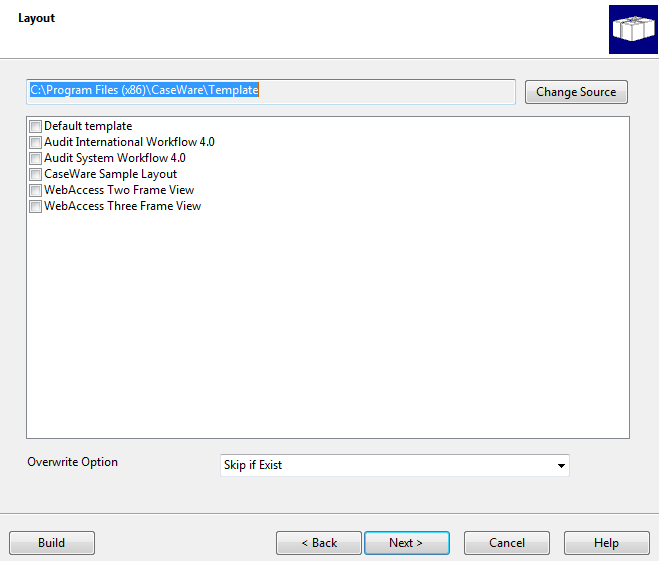
Click this button to select another file path where layouts are located.
Select the check box beside each layout you want to include in the template package.
Note: If the selected layout requires dependent layouts, those layouts are automatically included, even if you haven't selected them. The next time you package template files, the layouts previously selected and their dependent layouts are automatically selected and are always included in the package.
Click to build the template package without continuing through the wizard.
Click to build the template package without continuing through the wizard.
Specify Files
Specify Files
The Specify Files page enables you to add files to the template.
Click on an area in the screen shot below to view its description
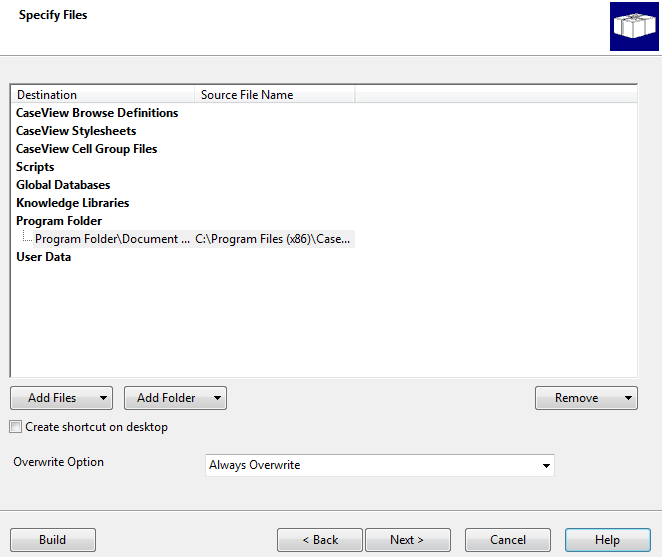
This column specifies the files to be included.
The files selected for each category will be installed to the following locations:
| Category | Destination |
|---|---|
| CaseView Browse Definitions | <Program Folder> |
| CaseView Stylesheets | <Program Folder>\styles |
| CaseView Cell Group Files | <Program Folder> |
| Scripts | <Program Folder>\scripts |
| Global Databases | <Program Folder> |
| Knowledge Libraries | <Program Folder>\Library or specified during install |
| Program Folder | <Program Folder> |
This column specifies the file path of the files to be included.
Click this button to remove a single file or all files.
Click this button to include individual files.
Click this button to include folders. Including a folder will include all of the files within the folder.
Click to build the template package without continuing through the wizard.
Select this option to add a desktop shortcut for the file.
Select this option to provide the user the option to install knowledge library files in a location other than the program folder.
Select this option if you want to deliver *.exe or *.dll files to be used by scripting.
External Programs
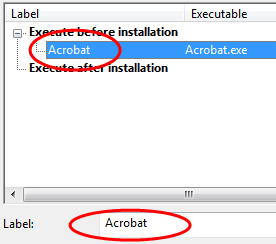
External Programs
This page allows you to execute other applications, for example Adobe Acrobat Reader, when a packaged template is installed. These applications can be executed either before or after the template files have been copied to the destination machine.
Click on an area in the screen shot below to view its description

Applications added here will be executed before the template is installed.
Applications added here will be executed after the template is installed.
This field specifies a unique label assigned to each application. The label specified here is reflected in the Label column in the screenshot below.
This field specifies the file path of the application.
This field specifies the name of the application.
This field specifies additional parameters that are needed to run the executable. The additional parameters are passed to the Template Installer which will run the executable and append the command line parameter.
Select this option to include all supporting files needed for installing the application.
Important: Use this check box with caution; if, for example, you put the executable on your C: drive and select this check box, then all files on your C: drive are included in the template package.
Finish
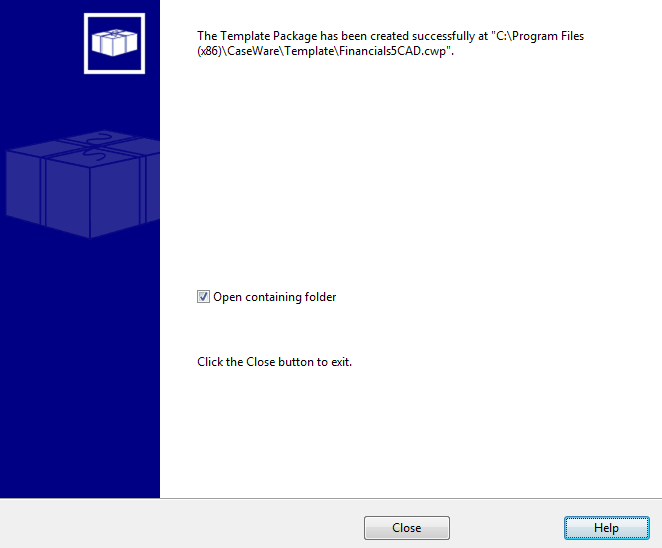
Finish
This will confirm whether the template patch package was successfully or unsuccessfully created. If successful, the file path where the package was created is displayed.
After patching the template package, install the patch as you would install a template package.