![]() Limitación de responsabilidad por el uso del Traductor Google. Haga clic aquí .
Limitación de responsabilidad por el uso del Traductor Google. Haga clic aquí .
-- How Do I? --
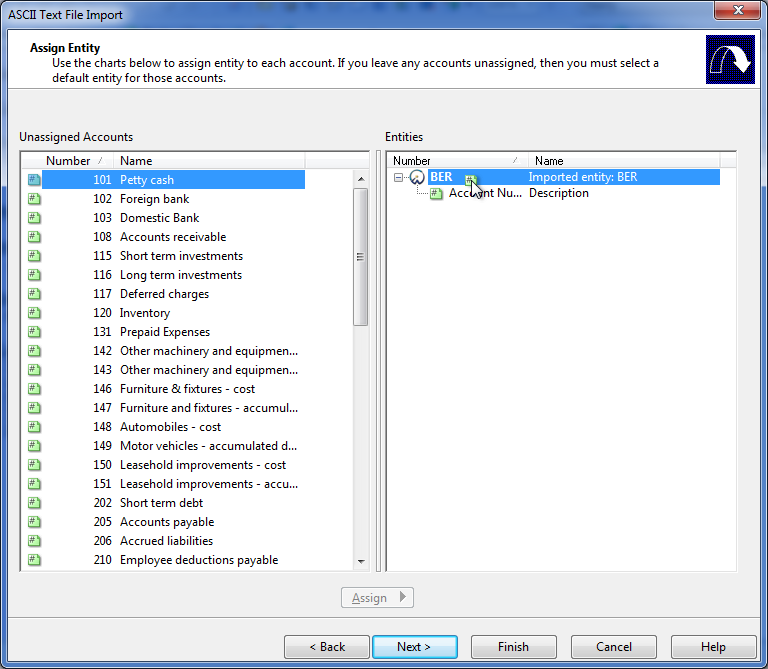
Assigning Entities
Use this command to drag and drop accounts to entities within a consolidated firm. Once assigned, if you make a mistake, you can drag the account from the incorrect entity to the correct destination without having to unassign it first.
Procedure
- Select an account in the Unassigned Accounts pane on the left.
- Select the destination in the Entities pane on the right.
- Click the Assign button.
OR
- Select an account in the Unassigned Accounts pane on the left.
- Click and drag the account to the Entities pane on the right and drop it onto the appropriate entity.
Results
The unassigned accounts will have an assigned entity.
Tips
- To assign multiple accounts in one action by clicking the first account in the range, pressing SHIFT, and clicking the last account in the range.
- To select accounts out of sequence, hold down the CTRL key.
- To change the order of the accounts, click the Number or Name headings.
- If unassigned accounts are left in the pane and you click the Next button, a dialog opens where you have to select a default entity. All unassigned accounts will be assigned to that entity.
- To remove accounts from a map, group or leadsheet number, tax or GIFI code, select the account in the right-hand box and then click Unassign.
- The Balance and Prior Balance columns are hidden when you are importing an ASCII test file or an Excel spreadsheet because the balances have not been calculated yet.
- Accounts cannot be assigned to calculated map numbers. However, the balances of those accounts will display in the dialog for reference purposes. For more information, see Creating calculated map numbers.


