Common Note Features
Note: The note content provided are examples, it is up to the practitioner determine if the example fits their situation. Modifications to the notes may be required to fulfill engagement requirements.
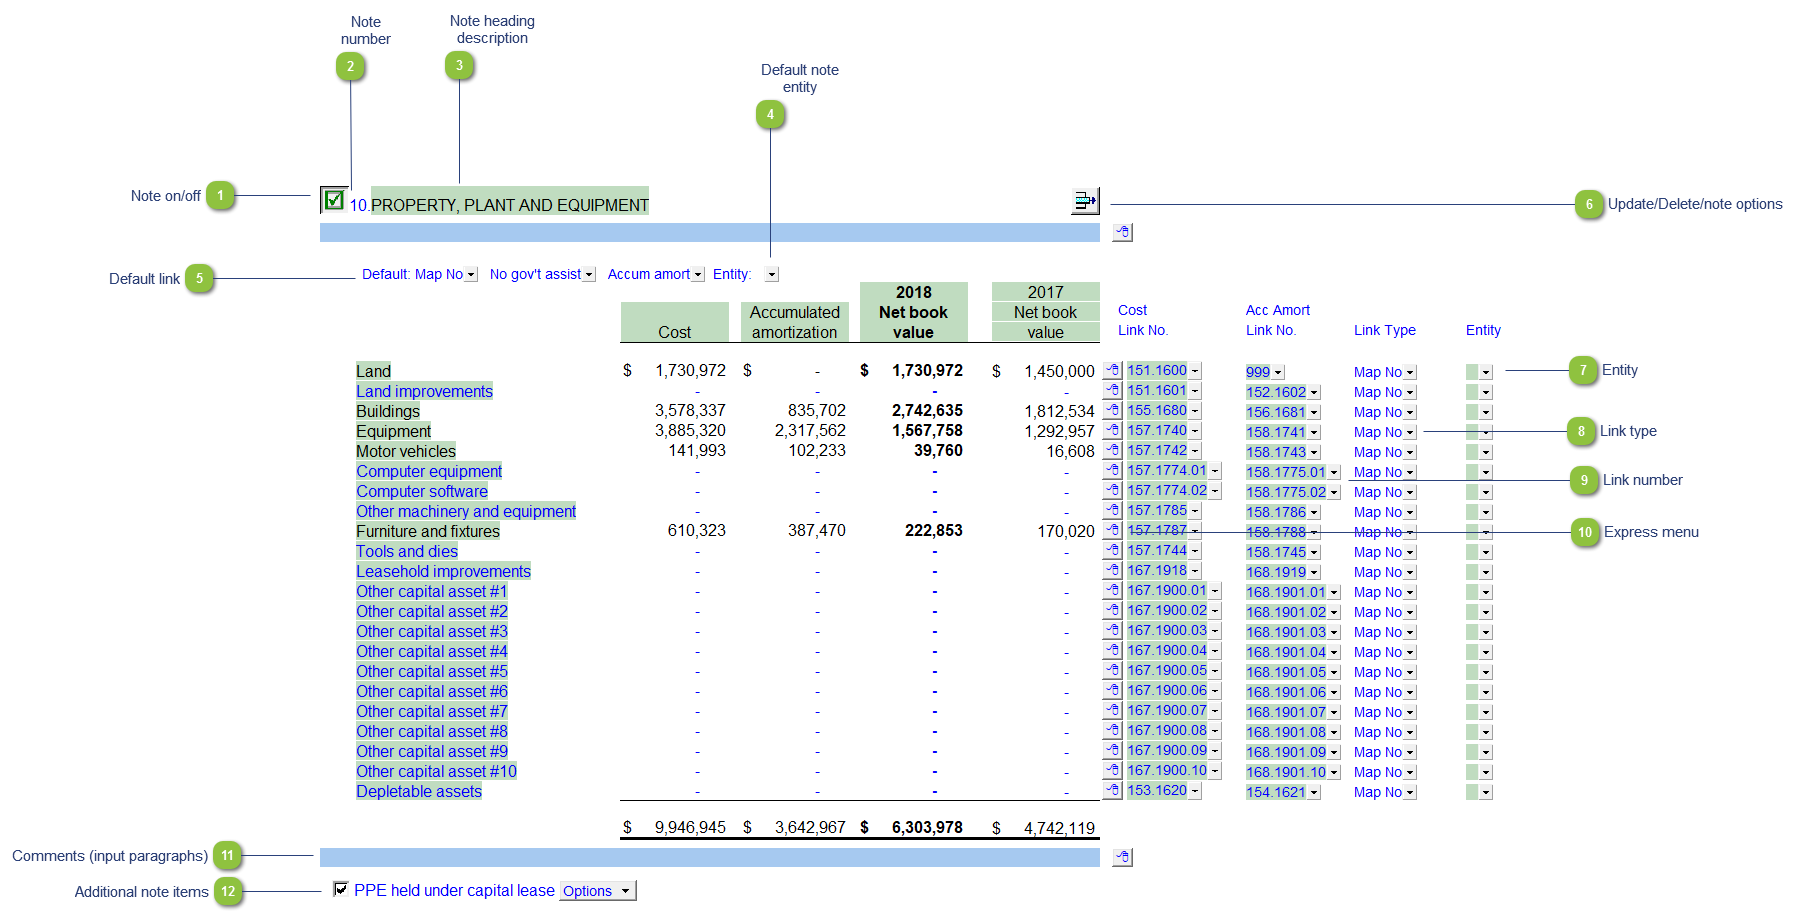
| Number | Name | Description |
|---|---|---|

|
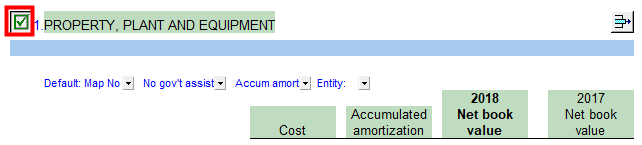
Note on/off |
You can turn a note off without deleting its content by unchecking the box next to the note heading. To turn the note on in the future, just re-check the box. When a note is turned off, the content will not be exported to the T2 when you perform a GIFI export and any values that would normally transfer to the statements will no longer transfer. Subsequent notes will be renumbered. Note on
Note off
|

|
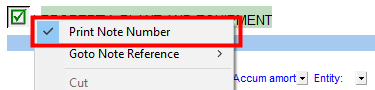
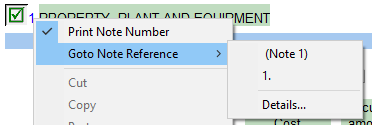
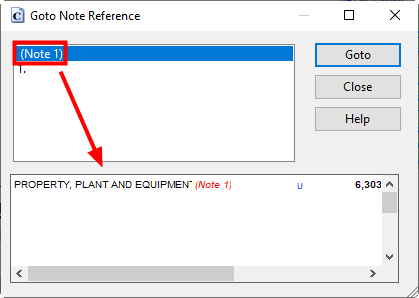
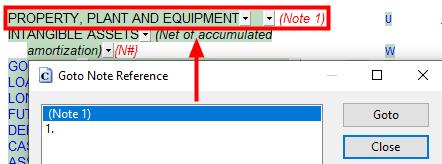
Note number |
Each note is automatically numbered. If the notes are sorted, deleted, turned off, or new notes added, then the note numbers and statement references will change accordingly. The following options are available for the note numbers:
|

|
Note heading description |
Use the popup menu to select an alternate note heading description or manually type in your own description into the input cell. On some notes, the note heading description changes will transfer to the statements. Refer to Behavior of notes summary to see which notes have this option. Right-click on the header for possible heading options. Use the notes heading formatting options in the Notes menu to set the format of the notes headings (bold/unbold or uppercase/lowercase). |

|
Default note entity |
Set the default entity for the note if applicable. This will filter the note to only show the balance(s) for the selected entity. |

|
Default link |
Select the default grouping you want to use for the note linkage. The notes are defaulted to use the Map No. |

|
Update/Delete/note options |
|

|
Entity |
Use the entity popup menu to select the entity from the list for each row. This will only show the balances associated with the selected entity for that row. |

|
Link type |
The link type is set from the default link type selected. You can change the link type for the individual row item if different from the default link type. |

|
Link number |
The link number indicates which linked number (i.e. map number) the row is linked to. Use the popup menu to select a link number. This can be a map, account or group number depending on the link type selected. Refer to Balance Origins for more information. |

|
Express menu |
Right-click on the Express menu to insert more linked lines, insert subtotals, sort and delete current lines where the options are available. |

|
Comments (input paragraphs) |
You can edit existing input paragraphs or insert more paragraphs using the Express menu. Refer to Input Paragraphs for more information on inserting paragraphs. |

|
Additional note items |
Click on the checkbox icon to show or hide additional note sections where applicable. |

 ) left clicking will
 Also included: