Managing Groups and Users
Protection settings enable you to determine which users can access the Working Papers file and what level of access they have. You can also assign users to specific groups or documents in the file in order to allocate work.
Note: This topic concerns client file-specific users and groups. For information on managing global users and groups, click here.
Managing groups
Groups enable you to organize your team logically and apply user settings according to that organization. For example, assume you want to create a user group for the management staff, with a distinct set of rights that may not be available to lower-level staff. You can create a Managers group and configure the Rights settings to ensure that managers will have the access levels they need to oversee work on the file.
Creating and deleting groups
Procedure
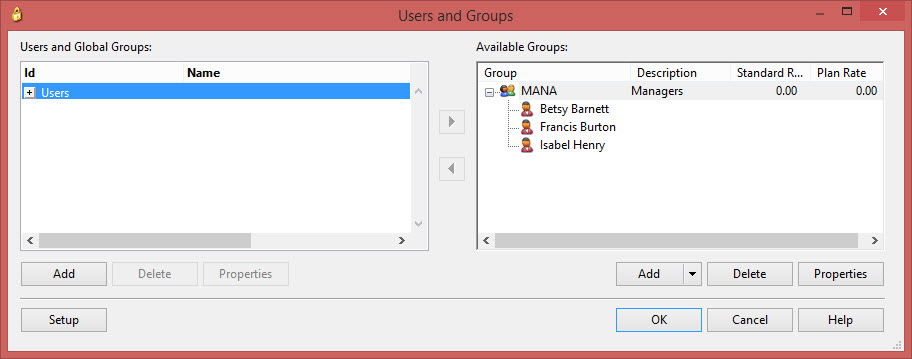
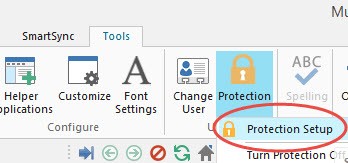
- On the Tools tab, in the Users group, click Protection | Protection Setup. This opens the Users and Groups dialog.
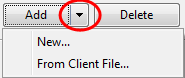
- Under Available Groups, click Add | New.... This opens the Group Setup dialog.
- Enter the Group Name and Group Description and, if applicable, enter the following:
Note: To delete an existing group, select the group you want to delete from the Available Groups pane and click Delete.
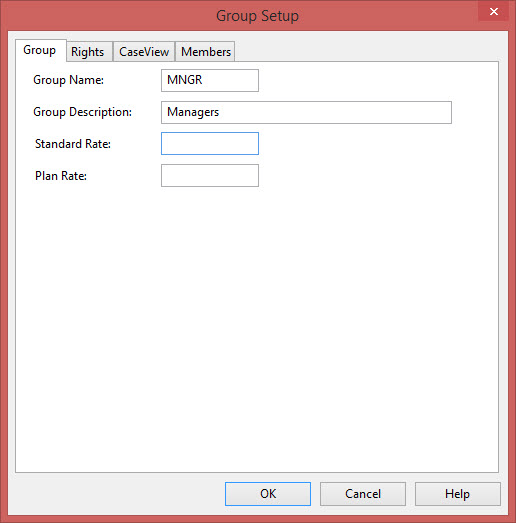
- Standard Rate - Enter the rate being charged to the client.
- Plan Rate - Enter the planning rate based on audit risk.
- Use the options in the Rights and CaseView tabs to specify access rights for the current group. For more on the available rights, click here.
- Use the options in the Members tab to assign users to the group.
Note: Users can also be assigned to groups in the User Properties dialog. - Click OK.
Modifying groups
To modify an existing group, select Protection | Protection Setup from the Tools tab, select the Group you want to modify, then, under Available Groups, click Properties. This opens the Group Profile dialog, which contains the same options as the Group Setup dialog. You can modify all saved settings expect for the Group's Name.
Importing groups
If you created a group in a previous Working Papers file and want to reuse it in your current file, you can do so with the Import Group option.
Procedure
-
On the Tools tab, in the Users group, click Protection | Protection Setup.
-
Expand the drop-down list next to Add and select From Client File.... This opens the Import Groups dialog.
- Click Browse to select the client file you want to import groups from.
-
Select the check box next to the group to select the group to be imported.
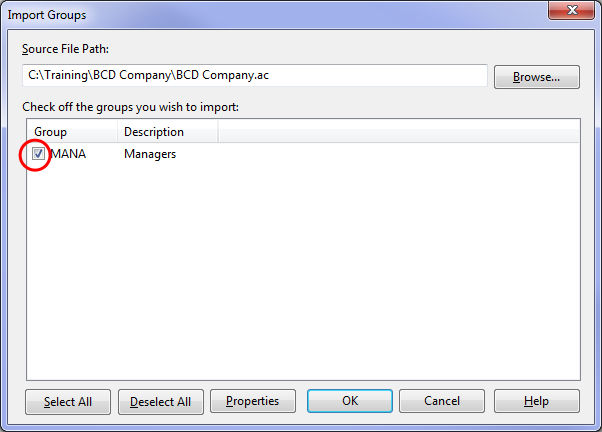
- Click OK.
Results
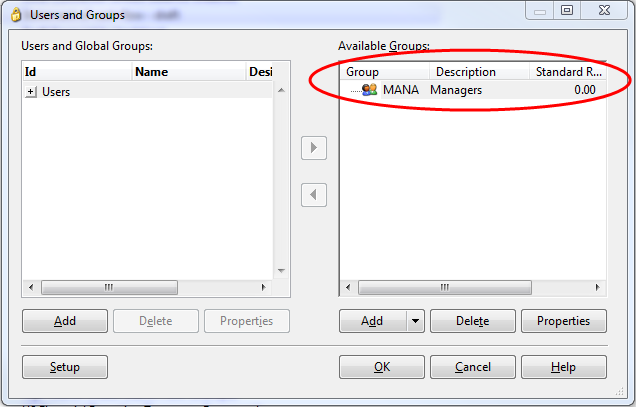
Your group has been imported. You will see the group you chose to import in your available groups.
Managing users
With Protection enabled, you can add users and assign them to specific documents in the Working Papers engagement.
Adding and removing users
- On the Tools tab, in the Users group, click Protection | Protection Setup. This opens the Users and Groups dialog.
- In the Users and Global Groups section, click Add.
- Click OK.
Note: To remove an existing user, click Delete.
Assigning / removing users to / from groups
From the Users and Groups dialog, select a user in the Users and Global Groups pane and the group you want to add them to in the Available Groups pane, then click the right arrow between the panes.
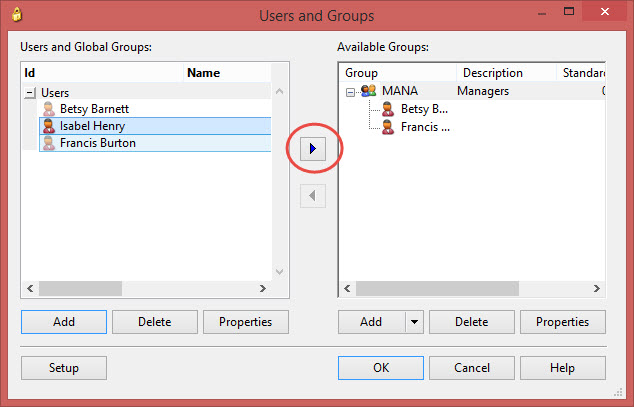
To remove a user from a group, select the user from the Available Groups pane and select the left arrow between the panes.
Assigning users to documents
With your groups and users configured, you can assign users to prepare and review individual documents in your Working Papers engagement.
Procedure
- On the Document tab, in the Assign group, click Assign Users.
- Use the options in this dialog to assign users to documents.
- When you have completed the assignments, click Close.
Note: Users' document rights are determined by their group settings. Before you attempt to assign users to documents, review your group settings to make sure that Working Papers will let you make the desired assignments.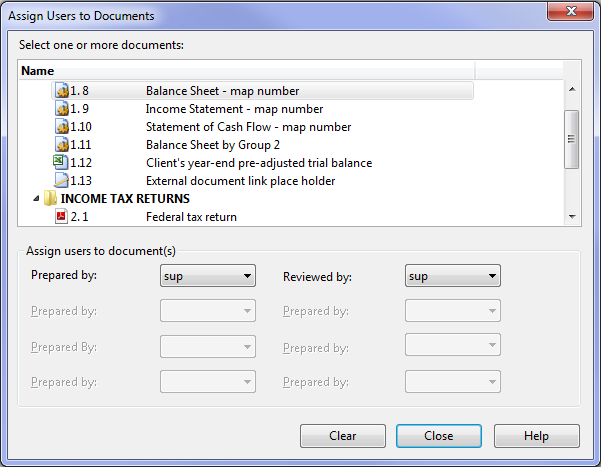
Results
Documents in your Working Papers file have been allocated to the appropriate preparers and reviewers.


