Managing Global Users and Groups
If your copy of Working Papers is connected to a data store, you can create Global users and groups. These users and groups can then be used on all of your Working Papers engagements without having to import them into each file individually, as you do with local users and groups.
Prerequisites
Working Papers must be connected to a data store. For instructions on creating a data store and connecting Working Papers to it, see the Data Store help.
Enabling global protection
Procedure
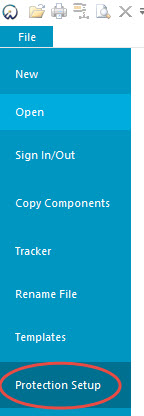
- With a data store connected, open Working Papers and select Protection Setup from the File menu.
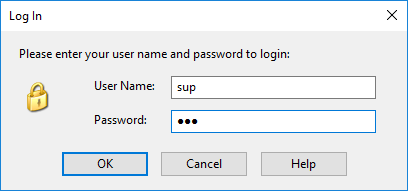
- Enter your user name and password.
Note: If this is the first time you have turned protection on, your User Name and Password are both "sup".
Results
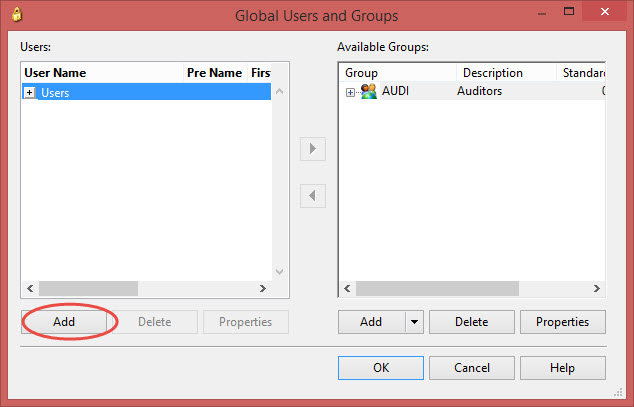
The Global Users and Groups dialog opens.
Adding global users and groups
If your firm already has an Active Directory connected to your data store, you can import its user and group list into Working Papers. For more information, click here.
Otherwise, you can add users and groups individually, or import them from an existing Working Papers file.
Note: You can only access Global Protection settings when you do not have a Working Papers engagement open.
- Adding and removing global users
- Adding and removing global groups
- Adding global groups from a Working Papers engagement
- Removing a user or group from the current client file
Adding and removing global users
Procedure
- With Global Protection enabled, select Protection Setup from the File menu. This opens the Global Users and Groups dialog.
- In the Users section, click Add.
- Complete the fields and, if desired, assign the user to a group in the Member Of tab.
- Click OK.
Note: To remove an existing user, click Delete.
Adding and removing global groups
- With Global Protection enabled, select Protection Setup from the File menu. This opens the Global Users and Groups dialog.
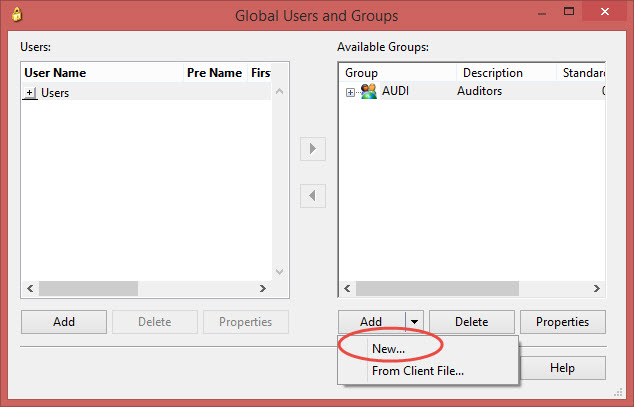
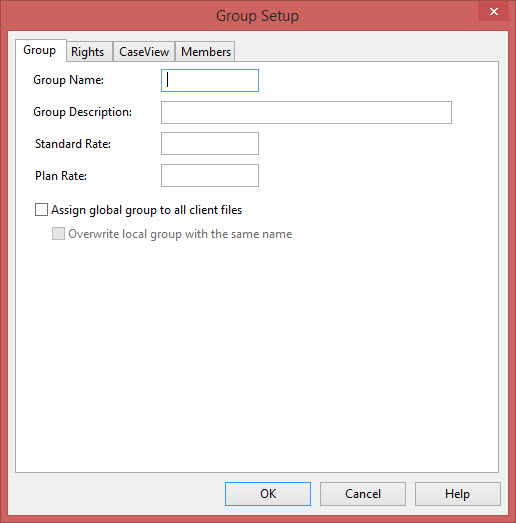
- Under Available Groups, select Add | New.... This opens the Group Setup dialog.
- Enter the Group Name and Group Description and, if applicable, enter the following:
- Standard Rate - Enter the rate being charged to the client.
- Plan Rate - Enter the planning rate based on audit risk.
- Use the options in the Rights and CaseView tabs to specify access rights for the current group. For more on the available rights, click here.
- Use the options in the Members tab to assign users to the group.
- Click OK.
Note: To remove an existing group, click Delete.
Note: Select the Assign global group to all client files checkbox to make this group available in all Working Papers engagement files on your system.
Adding global groups from a Working Papers engagement
Procedure
- With Global Protection enabled, select Protection Setup from the File menu. This opens the Global Users and Groups dialog.
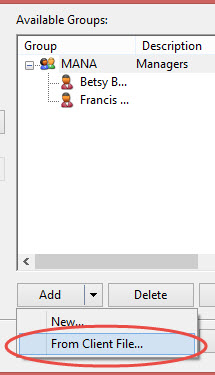
- In the Available Groups section, click Add | From Client File...
- Click Browse and locate the Working Papers file you want to import groups from.
- Select the checkboxes next to the groups you want to import, then click OK.
Removing a user or group from the current client file
Removing users and groups from an open Working Papers client file removes them from the current client file only. The user list remains and you can easily re-assign users to groups in the current client file. To delete a group, you must first delete any users assigned to the group.
Procedure
- On the Tools tab, in the Users group, select Protection | Protection Setup.
- Under Users, select the user to want to remove from the current client file.
- Click Delete.
- When prompted by Working Papers if you want to remove the user from all groups, click Yes.
Note: Users that are assigned to groups appear as  . You will need to remove them from any groups that are active in this file to complete this procedure.
Results
The user no longer has access to the current client file. When attempting to log into this client file, Working Papers informs them that they are no longer in this task.
Notes
- Removing a user from all groups also removes them from the Document Assignment process. Any documents that were completed by the user retain the user's initials.
- When using SmartSync, deleted users may still appear in issues they have been assigned to or history events they are associated with.


