Setting a Document Role Set
Set a role set on a specific document to define specific sign off requirements on this document.
Note: All documents use the Default Role Set defined under Tools | Options, unless otherwise specified.
Prerequisites
- If Protection is activated, you require the Documents right, Modify document properties without being assigned to document, to perform this operation.
- For SmartSync users, ensure you are online and synchronizing with the parent file to make any changes available to other online users.
Procedure
Open the Document Manager to perform this operation.
- Locate the document where you want to apply a new role set.
-
Right-click on the document and select Properties to access the document properties. Click the Roles tab.
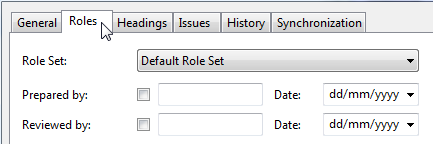
- Select the applicable role set from the drop-down list.
- Click OK.
Results
Role sign offs for this document are changed based on the specified role set. You can start signing off roles for this set.
Tips
-
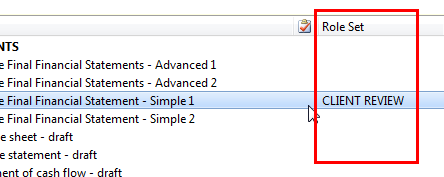
Enable the Role Set column on the Document Manager to quickly see the role set used per document.
- You can also specify a role set on multiple documents at the same time. For detailed instructions, see Setting Role Set on Multiple Documents.
Notes
-
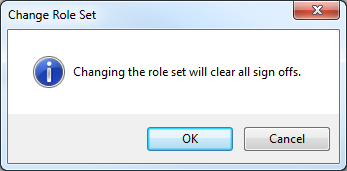
If you are changing the role set on a document that has already been signed off, then you will receive the message that all role sign offs will be cleared.