Specifying certain table properties
You can specify certain table properties in the financial statements.
What do you want to do?
- Setting the columns to underline
- Specifying the note number location
- Enabling the annotation column
- Creating a custom column
Setting the columns to underline
Template authors define the underline standards for the organization. If permitted you can define the underline properties for table headings, sub-total rows, and total rows.
Procedure
- Open the Financial statements document and select the Global Setup tab
-
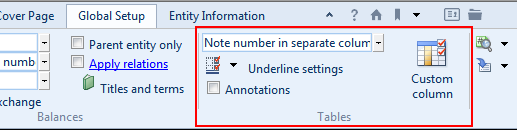
In the Global Setup tab, locate the Underline settings drop-down. This drop-down can be found in the Tables section of the tab.
-
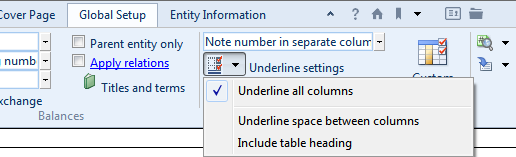
From the Underline settings drop-down, select the underline format to use.
Option Description Underline all columns Underline all columns, including the mapping and description columns. The underlines extend to the margins.

Uncheck this option to underline the numeric columns only.
Underline space between columns When selected, will underline the padding that is on either side of the columns.
Include table heading When selected, the settings applied will also extend to the table heading lines.
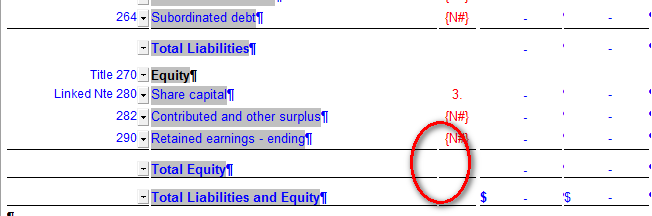
Results
The columns are underlined as specified.
Specifying the note number location
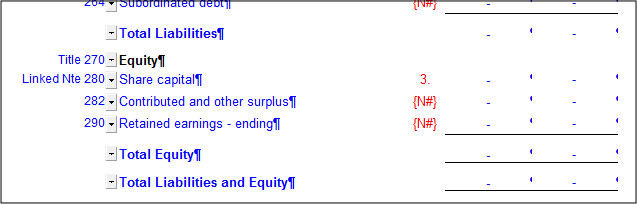
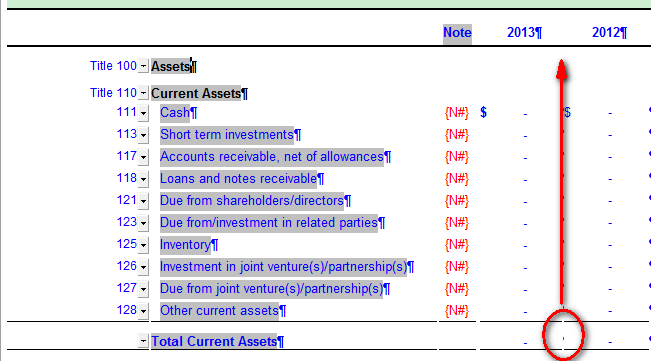
You can specify where note references are to be displayed in the financial statements. They can appear in a separate column, or immediately after the description within the description column.
Note: You can override this specification for an individual financial statement area. See Specifying statement area properties for more details.
Procedure
- Open the Financial statements document and select the Global Setup tab
-
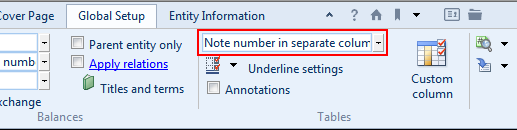
In the Global Setup tab, locate the Note number drop-down. This drop-down can be found in the Tables section of the tab.
-
From the Note number drop-down, select the note number location to use.
Option Description Note number in separate column Include a separate column for note references.

Note number in description column Display the note reference in the description column, after the description.

Results
The note number reference is placed in the specified location.
Enabling the annotation column
You can specify that an annotation column is to be included in all financial statement tables for which this column is supported.
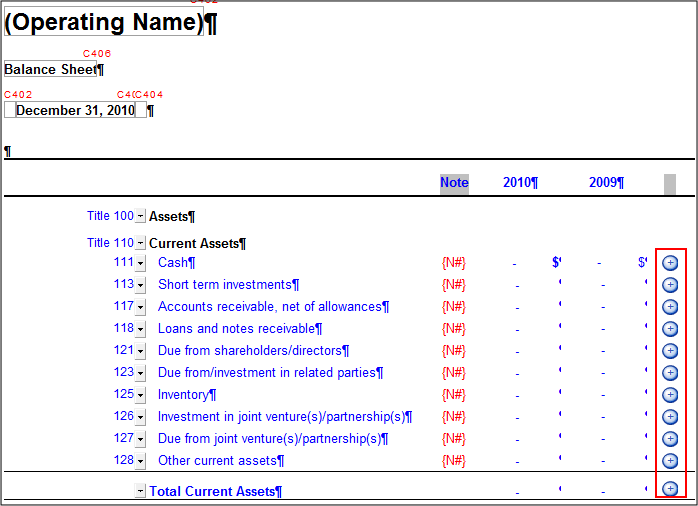
When you click on an annotation icon ![]() , the Annotation dialog appears, enabling you to add an annotation. For more details on annotations,
see Annotation command in the CaseView help.
, the Annotation dialog appears, enabling you to add an annotation. For more details on annotations,
see Annotation command in the CaseView help.
Procedure
- Open the Financial statements document and select the Global Setup tab
- Select the Annotations check box.
Results
The annotation column is included.
Note: You can also enable the annotation column from the Home tab. To do this, click the ![]() (Annotation) icon.
(Annotation) icon.
Creating a custom column
You can enable a custom column that can be added to any of the statements and schedules. This column can be used to display budget balances, forecasts, or other custom balances. The position of the new column in the statements and schedules is to the right and cannot be moved.
When enabled, this column can be added to the statements through the Statement Setup tab. For more details, see Adding a custom column.
Procedure
- Open the Financial statements document and select the Global Setup tab
-
Click
 (Custom column). The Custom column dialog appears.
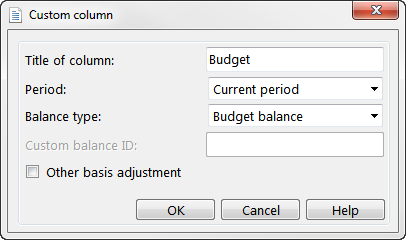
- In the Title of column field, type the title for the custom column. This title is displayed in the Statement Setup tab.
- From the Period drop-down, select the period from which balances are to be included.
- From the Balance type drop-down, select the balance type to use. See Values in the CaseView help for more details on balance types.
- If you have selected Custom Balance from the Balance type drop-down, type the custom balance ID in the Custom balance ID field.
- Select the Other basis adjustment check box if you have used Working Papers to post an "other basis" adjustment. For more information on other basis adjustments, see the topic Other basis adjustments in the Working Papers help.
- Click OK to close the Custom column dialog.
Results
The custom column is available for use in the financial statements.


