Working with Styles
When you are creating a custom themes, you can change how any field in any financial statement area is displayed. To do this, you must modify the style that controls how the field is displayed.
You can also purge any styles that are not used.
What do you want to do?
- Modifying a style using the Styles and Formatting dialog
- Modifying a style using the Modify Style dialog
- Purging unused styles
Modifying a style using the Styles and Formatting dialog
You can use either the Styles and Formatting dialog or the Style Wizard dialog to modify a style in a single financial statement area.
Procedure
To modify a style using the Styles and Formatting dialog:
- In the Themes Preview document, from the Bookmarks menu, select the financial statement area that you want to view.
- In the financial statement area that you have selected, click the field that you want to edit.
-
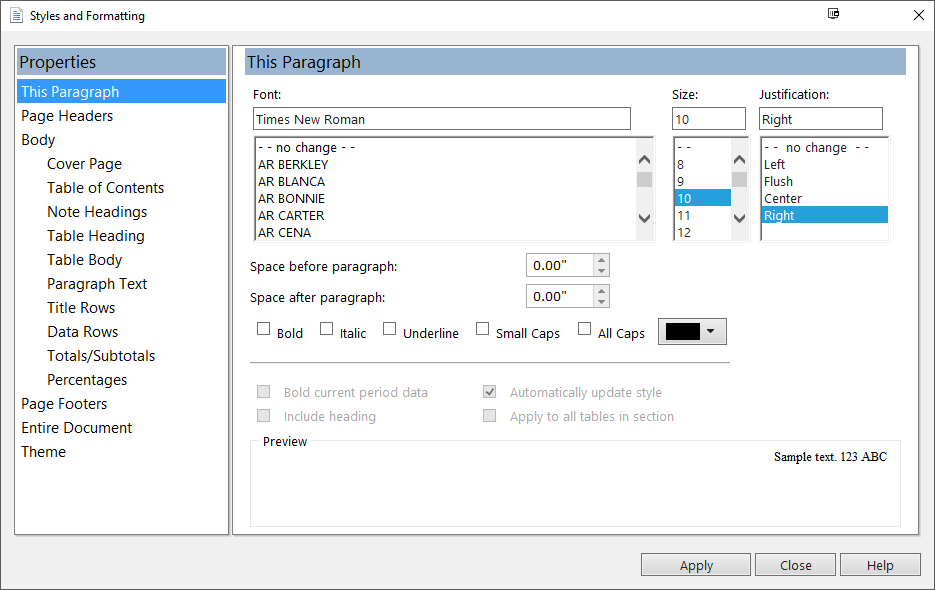
From the Document menu, select Styles and Formatting. The Styles and Formatting dialog opens.
-
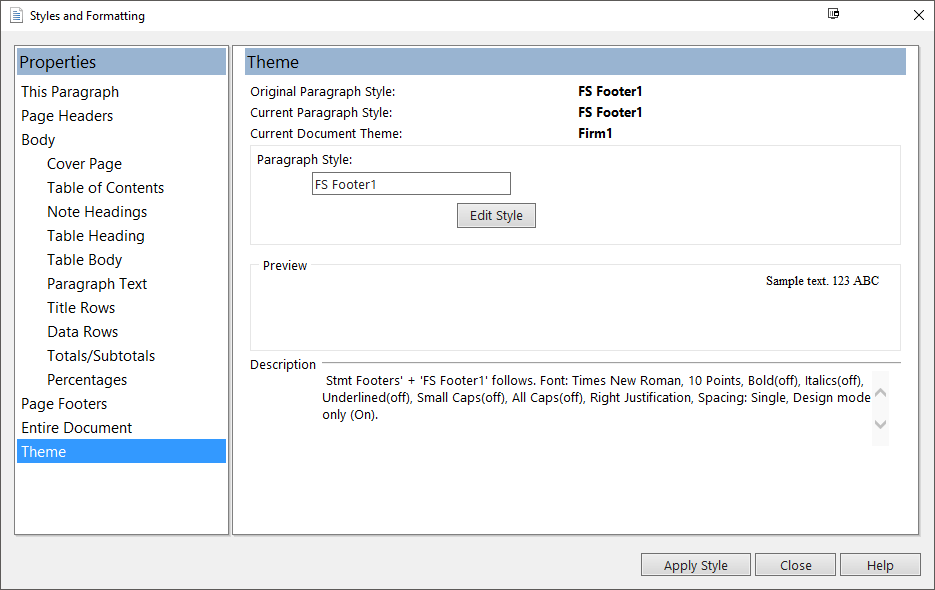
In the Properties pane, click Theme. The Theme pane displays.
-
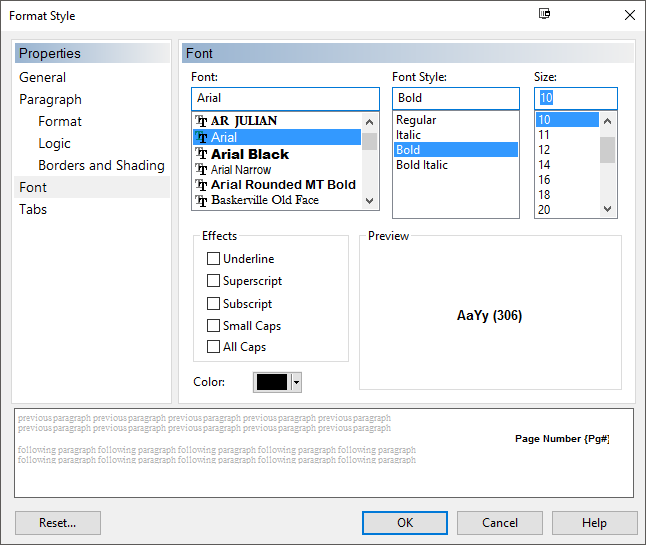
Click Edit Style. This opens the Format Style dialog, which enables you to edit the style.
- Click OK to save your changes to the style.
- Click Apply Style to apply the style changes to the style. These changes will update the field that you have selected and all other fields that use this style in this financial statement area.
- Click Close to save the change to the themes.
Results
The specified style is modified.
Modifying a style using the Style Wizard dialog
You can use either the Styles and Formatting dialog or the Style Wizard dialog to modify a style in a single financial statement area.
Procedure
To use the Style Wizard dialog to edit a style in a single financial statement area:
- In the Themes Preview document, from the Bookmarks menu, select the financial statement area that you want to view.
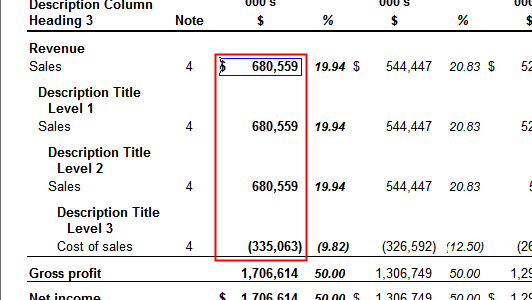
- In the financial statement area that you have selected, right-click the field that you want to edit.
-
From the shortcut menu that appears, select Modify Style. The Style Wizard dialog appears.
-
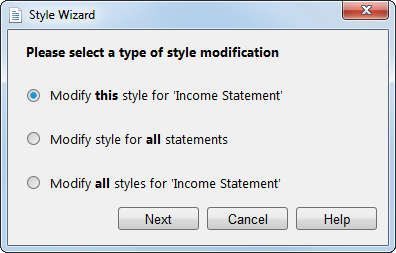
In the Style Wizard dialog, select the option that best suits your needs:
Option Description Modify this style for... Modify the style for the statement area that you are currently viewing. Modify style for all statements Modify the style type for all financial statement areas. Modify all styles for... Modify all styles for the financial statement area that you are currently viewing.
Modify this style for...
- Select Modify this style for ... and click Next. This opens the Format Style dialog, which enables you to edit the style.
-
Click OK to save your changes to the style and close the Format Style dialog. The style that you have changed becomes highlighted.
To clear highlighting, select Clear Highlight from the Document menu.
- Click OK to save your changes to the themes.
Modify style for all statements
-
Select Modify style for all statements and click Next. The Style Wizard displays all affected styles from all statement areas.
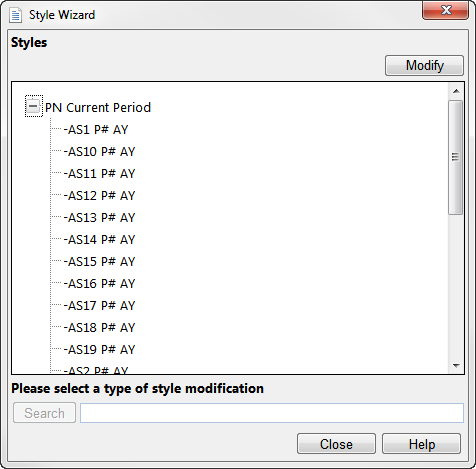
Note: Only the same style type as originally selected is displayed. In the example above, the current year balance in the parent entity column was selected. PN Current Period represents the parent style for parent entity current period balances and each child style represents the equivalent style used in each statement area.
-
Click Modify. This opens the Format Style dialog, which enables you to edit the parent style.
- Click OK to save your changes to the style and close the Format Style dialog. The style that you have changed becomes highlighted.
- Click Close to exit the Style Wizard dialog.
Modify all styles for ...
-
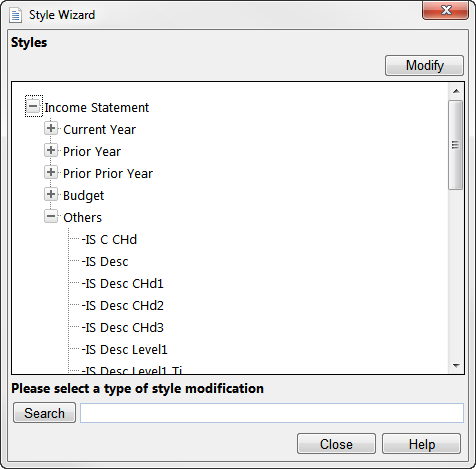
Select Modify all styles for ... and click Next. The Style Wizard displays all styles in the statement area.
-
Click Modify.
-
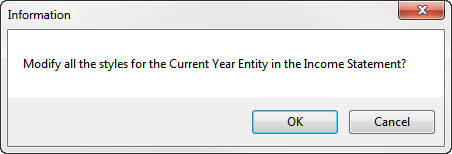
Click OK to modify all styles for the statement area or category selected.
- The Format Style dialog opens, which enables you to edit the styles.
- Click OK to save your changes to the style and close the Format Style dialog. The styles that you have changed become highlighted.
- Click Close to exit the Style Wizard dialog.
- Click Save to save any themes changes.
Results
The style or styles are modified in the specified areas.
Purging unused styles
Before releasing the template, you can purge any styles that your financial statements are not using. This reduces the file size and improves performance in client files.
Procedure
- In the Document Manager, in the Financial Statements folder, open the Financial statements document.
- Select the Format tab.
- Select
 (Purge Unused Styles).
Note: If a purged style is later required, such as when a line in a table is changed to a title line, the missing style is automatically loaded from the themes file.
Results
All styles not used in the document are purged.


