About the ProSystem fx Engagement Import Wizard
Use the ProSystem fx Engagement Import Wizard to import client files from ProSystem fx Engagement into Working Papers. The wizard is applicable to versions 6.1 / 6.5 / 6.8 / 6.9 / 6.11 / 7.0 / 7.1 / 7.2 / 7.5 / 2017.2. The following guide details each section of the wizard.
Important: If you are importing from a ProSystem fx Engagement version 6.0 and below use the help topic located here.
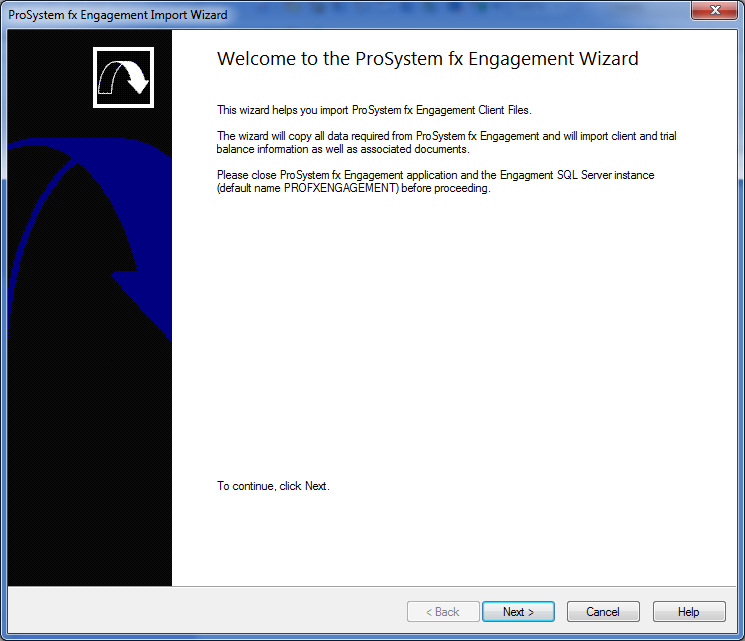
Welcome
The Welcome section offers valuable information about the import itself and presents the import requirements.
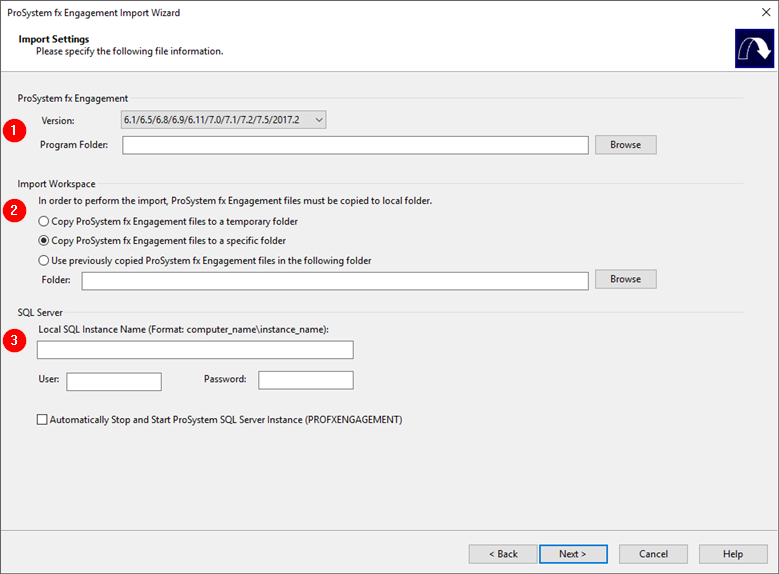
Import Settings
The Import Settings section contains information about:
- The version of ProSystem fx Engagement in use
- The location of the files to be imported
- The installed SQL Server instance
| Number | Heading | Description |
|---|---|---|
| 1 | ProSystem fx Engagement |
|
| 2 | Import Workspace |
|
| 3 | SQL Server |
|
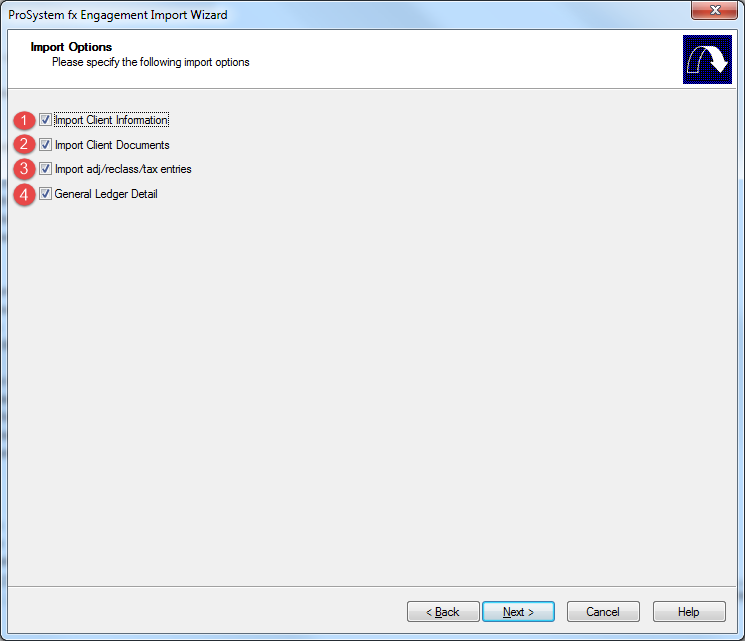
Import Options
The Import Options section enables you to select the types of information that you would like to import.
| Number | Option | Description |
|---|---|---|
| 1 | Import Client Information | Select this check box to import client information. |
| 2 | Import Client Documents | Select this check box to import client documents. The documents, showing various trial balance reports or other financial reports, are placed on the Document Manager. |
| 3 | Import adj/reclass/tax entries | Select this check box to include adjusting, reclassifying, or tax detail records in the import. |
| 4 | General Ledger Detail |
If the box is checked, all write-up entries (if any) in ProSystem fx Engagement will be imported into Working Papers as General Ledger entries. To see them in Working Papers, open the Working Trial Balance and click the Other Entries tab. If the box is not checked, no write-up entries from ProSystem will be imported. Instead, the total sum amount of all write-ups during one period will be calculated and posted into Working Papers as a Period Balance. |
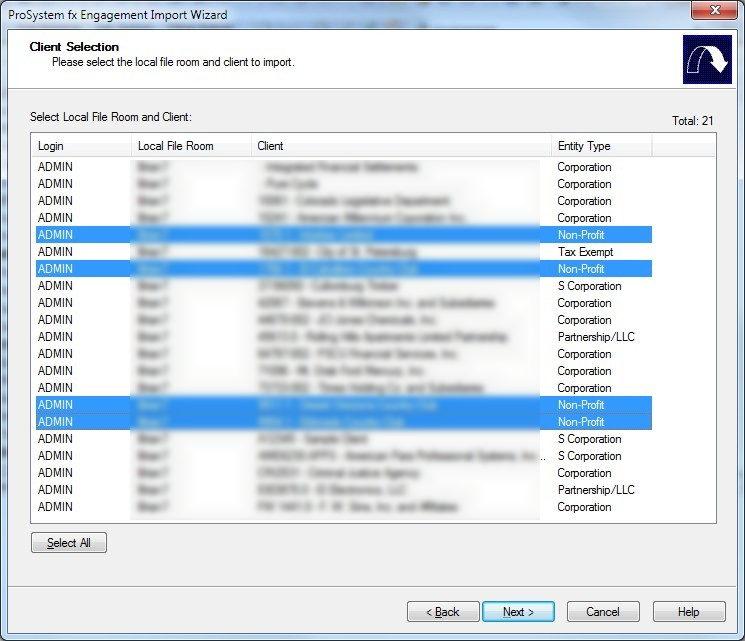
Client Selection
The Client Selection section enables you to select the client file that you will be importing. Files are organized according to the Local File Room they are part of and the client's name.
You can select multiple binders at once.
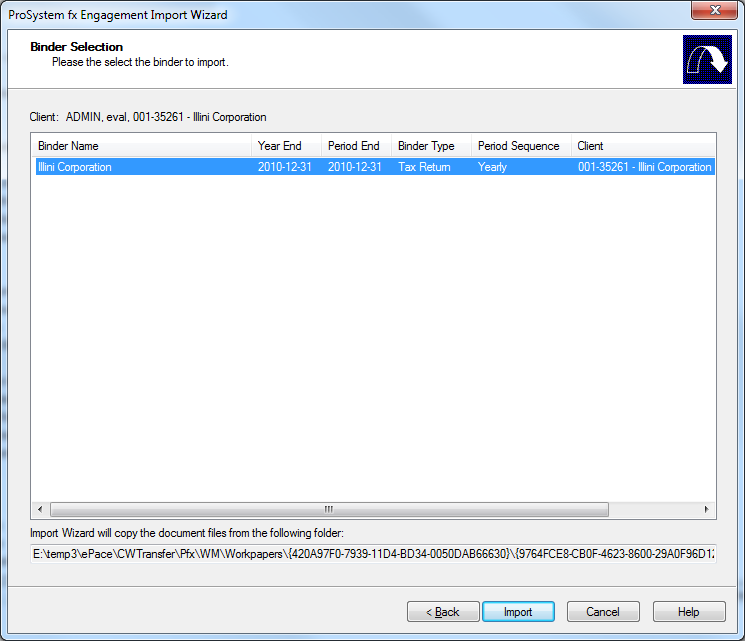
Binder Selection
The Binder Selection section lists the binders available for import into Working Papers, along with their basic details.