Setting Role Set On Multiple Documents
Set a role set on multiple documents at the same time to define specific role requirements on all these documents.
Note: All documents use the Default Role Set defined under Tools | Options, unless otherwise specified.
Prerequisites
- Ensure the Role Set column is visible on the Document Manager to perform this operation. Use the Reorder Columns command to add this column on the Document Manager.
- If Protection is activated, you require the Documents right, Modify document properties without being assigned to document, to perform this operation.
- For SmartSync users, ensure you are online and synchronizing with the parent file to make any changes available to other online users.
Procedure
-
In the Document Manager, locate and select all documents where you want to apply a new role set.
Tip: To select multiple documents use CTRL+click for documents out of sequence or SHIFT+click to for documents in sequence.
-
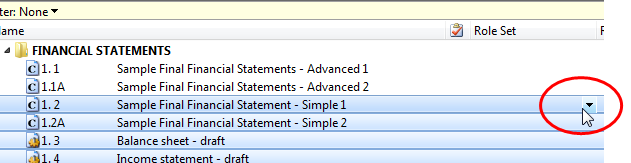
Hover your cursor over any document towards the end of the Role Set column.
-
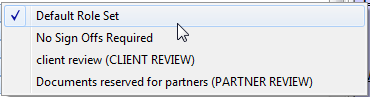
Click the drop-down menu and select the applicable role set.
Results
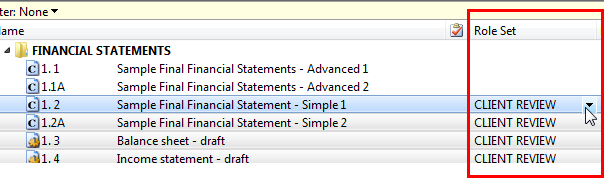
The selected role set is applied to all the documents. The label for the selected role set appears in the Role Set column on the Document Manager.
Notes
-
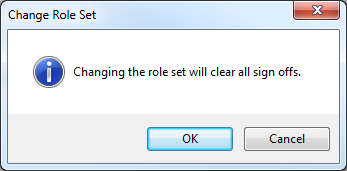
If you are changing the role set on a document that has already been signed off, then you will receive the message that all role sign offs will be cleared.