Adding Client Groups
Set up client groups from the Groups dialog to categorize your clients according to your criteria. Groups are used to represent divisions or subsidiaries of companies; for example, one client may have other companies that operate under one "umbrella" or parent company.
Prerequisites
![]() With Protection activated, you require the following right in the file
With Protection activated, you require the following right in the file ![]()
- Groups: Create/Delete under the Setup: Groups category
![]() If Cloud Integration is enabled,
If Cloud Integration is enabled,
-
You must be Online to perform this operation. When you are Offline, this operation is disabled.

- Your account on Cloud must be assigned a role that grants Edit permission on the Entity - Details object.

Procedure
- Access the Groups dialog from the menu Setup | Groups.
-
Specify a Group No..
Note: If the form is empty you can enter one immediately, otherwise click New to clear the dialog first.
-
Specify a Name for the group under Group Information.
By default, the Short name is automatically populated with the first 10 characters in the group Name. This can be changed.
 Note: If Cloud Integration is enabled and you are working Online, then a merge is automatically performed with CaseWare Cloud immediately after this step.
-
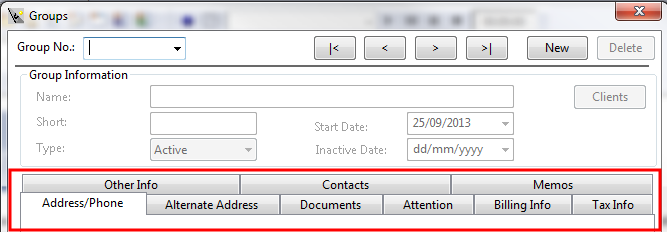
Complete the remaining Group Information fields. Use the tabs in this dialog to file additional information on this client. >>Quick Reference

-
Documents
Configure the address that appears on client letters, invoices, statements and credit notes.
-
Attention
Set up to four contacts to appear on document attentions.
-
Billing Info
Enter payment information and configure billing options.
-
Tax Info
Set up tax codes and tax rates for this client's jurisdiction.
-
Contacts
Assign contacts to this client.
-
- Click Close to finish or click New to add another client group.
Results
After the client group is added to the file, you can reference this client group when entering time and expense.
Tips
- Summary or detail Group Lists can be printed using the automatic documents on the Document Manager.
 Show me


